前言:
有的時候需要對站點中的某個目錄進行保護,只有輸入指定的賬號密碼才可以瀏覽。這當然可以通過動態網站設計語言來實現,但通過對Apache本身的配置來實現似乎要更方便一些。
配置方法:
一、Apache配置編輯及站點創建
創建一個站點配置文件。
[root@localhost auth]# vim /etc/httpd/conf.d/vhost1.conf
內容如下:
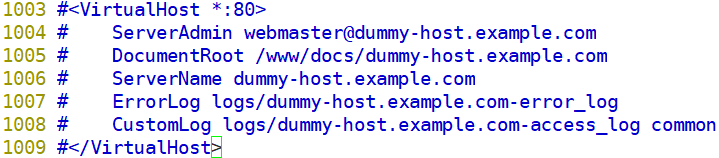
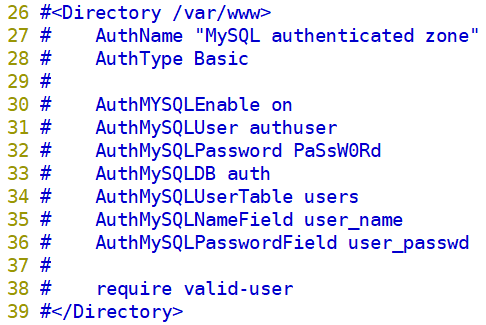
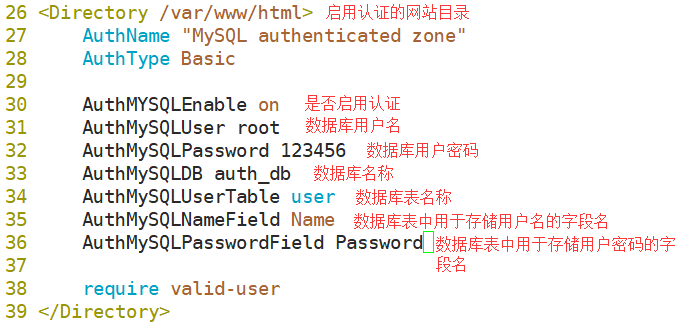
<Directory "/tmp/html/auth/"> // 要啓用認證的目錄
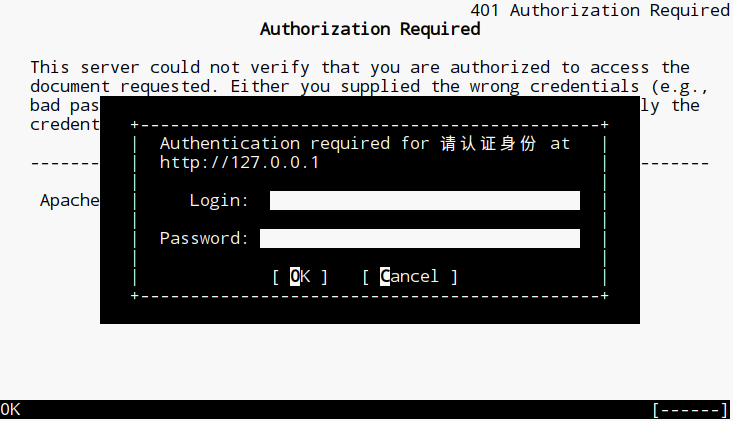
AuthName "請認證身份" // 服務器返回的認證對話框的標題
AuthType Basic // 認證類型
AuthUserFile /tmp/html/auth/.htpasswd // 密碼配置文件路徑
require valid-user // 允許通過認證的所有用户訪問,如果改為某一用户名則只允許此用户訪問
</Directory>
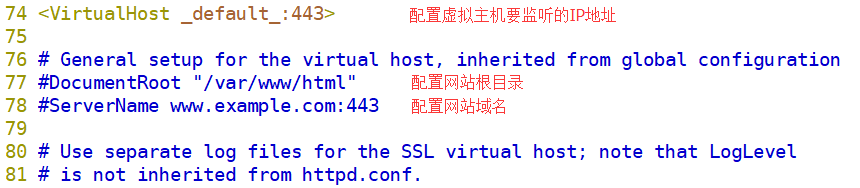
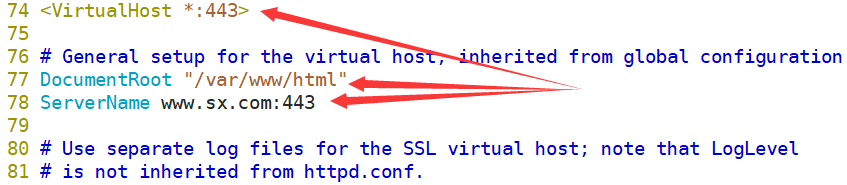
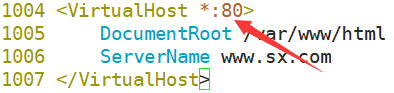
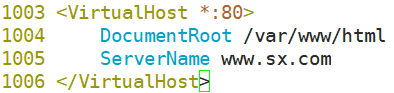
<VirtualHost *:80> // 創建一個簡單的虛擬主機用於測試
DocumentRoot /tmp/html/
</VirtualHost>
創建站點運行目錄及要開啓認證的站點子目錄。
[root@hostname ~]# mkdir -p /tmp/html{,/auth}
查看此時的站點目錄結構。
[root@hostname ~]# tree /tmp/html/
/tmp/html/
└── auth
在站點子目錄下創建首頁文件。
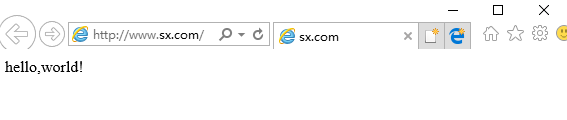
[root@hostname ~]# echo 'Hello,world!' > /tmp/html/auth/index.html
二、生成用户密碼配置文件
創建新文件,並向其中添加一個用户認證信息。
[root@hostname ~]# htpasswd -cb /tmp/html/auth/.htpasswd user1 123456     //-c參數用於創建新文件,若文件已存在則無需使用-c參數,-b參數用於指定在命令行中直接鍵入密碼,而不是用交互模式。user1為用户名,123456為密碼。
Adding password for user user1   //提示成功添加了user1的用户密碼
增加一個新的認證用户。
[root@hostname ~]# htpasswd -b /tmp/html/auth/.htpasswd user2 123456
Adding password for user user2   //成功添加
修改用户的密碼。
[root@hostname ~]# htpasswd -mb /tmp/html/auth/.htpasswd user1 654321
Updating password for user user1 //密碼更新成功
刪除認證用户。
[root@hostname ~]# htpasswd -D /tmp/html/auth/.htpasswd user2
Deleting password for user user1 //刪除成功
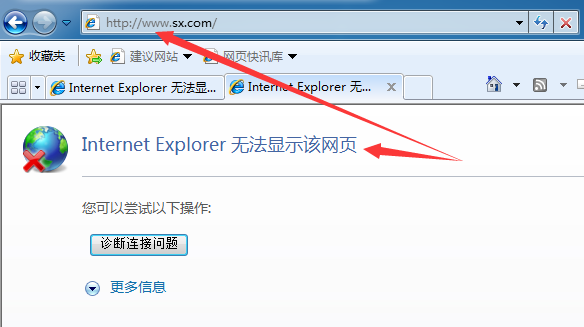
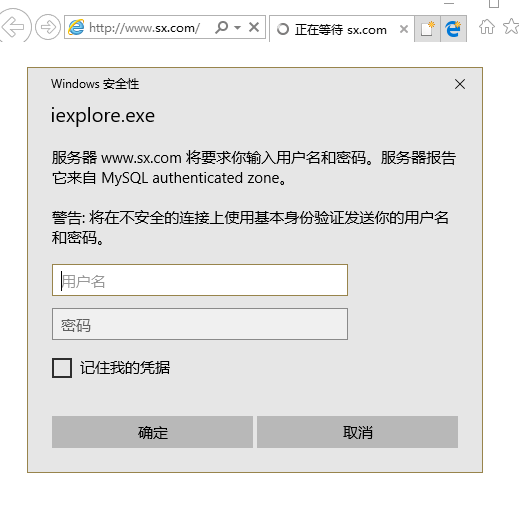
測試:
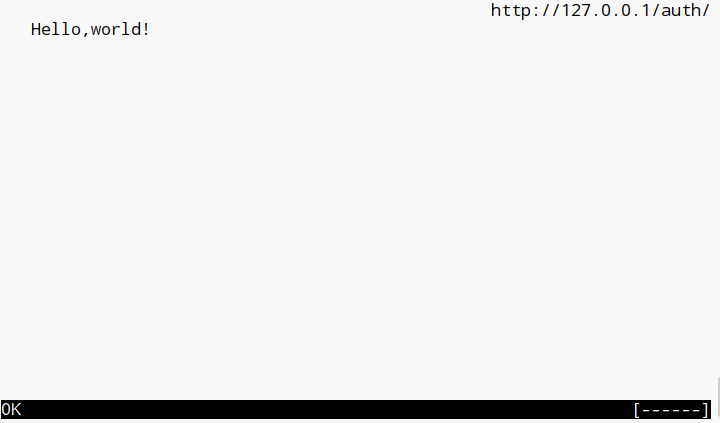
使用瀏覽器訪問http://URL/auth(URL是你網站的域名或IP)就會看到要求認證的對話框啦!
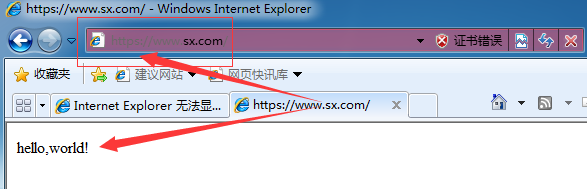
這裏我為了方便,使用的是Linux下的Links瀏覽器進行測試的。
正確輸入賬號密碼後,即可看到網頁內容。