前言:
有的时候需要对站点中的某个目录进行保护,只有输入指定的账号密码才可以浏览。这当然可以通过动态网站设计语言来实现,但通过对Apache本身的配置来实现似乎要更方便一些。
配置方法:
一、Apache配置编辑及站点创建
创建一个站点配置文件。
[root@localhost auth]# vim /etc/httpd/conf.d/vhost1.conf
内容如下:
<Directory "/tmp/html/auth/">      // 要启用认证的目录
    AuthName "请认证身份"           // 服务器返回的认证对话框的标题
    AuthType Basic                 // 认证类型
    AuthUserFile /tmp/html/auth/.htpasswd      // 密码配置文件路径
    require valid-user             // 允许通过认证的所有用户访问,如果改为某一用户名则只允许此用户访问
</Directory>
<VirtualHost *:80>                 // 创建一个简单的虚拟主机用于测试
    DocumentRoot /tmp/html/
</VirtualHost>
创建站点运行目录及要开启认证的站点子目录。
[root@hostname ~]# mkdir -p /tmp/html{,/auth}
查看此时的站点目录结构。
[root@hostname ~]# tree /tmp/html/
/tmp/html/
└── auth
在站点子目录下创建首页文件。
[root@hostname ~]# echo 'Hello,world!' > /tmp/html/auth/index.html
二、生成用户密码配置文件
创建新文件,并向其中添加一个用户认证信息。
[root@hostname ~]# htpasswd -cb /tmp/html/auth/.htpasswd user1 123456     //-c参数用于创建新文件,若文件已存在则无需使用-c参数,-b参数用于指定在命令行中直接键入密码,而不是用交互模式。user1为用户名,123456为密码。
Adding password for user user1   //提示成功添加了user1的用户密码
增加一个新的认证用户。
[root@hostname ~]# htpasswd -b /tmp/html/auth/.htpasswd user2 123456
Adding password for user user2   //成功添加
修改用户的密码。
[root@hostname ~]# htpasswd -mb /tmp/html/auth/.htpasswd user1 654321
Updating password for user user1 //密码更新成功
删除认证用户。
[root@hostname ~]# htpasswd -D /tmp/html/auth/.htpasswd user2
Deleting password for user user1 //删除成功
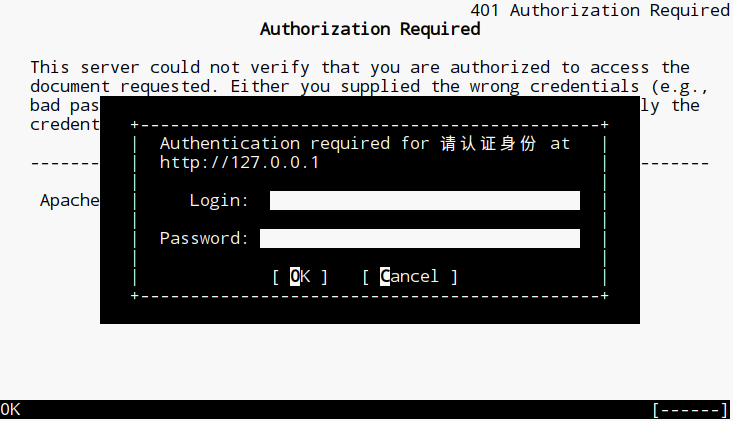
测试:
使用浏览器访问http://URL/auth(URL是你网站的域名或IP)就会看到要求认证的对话框啦!
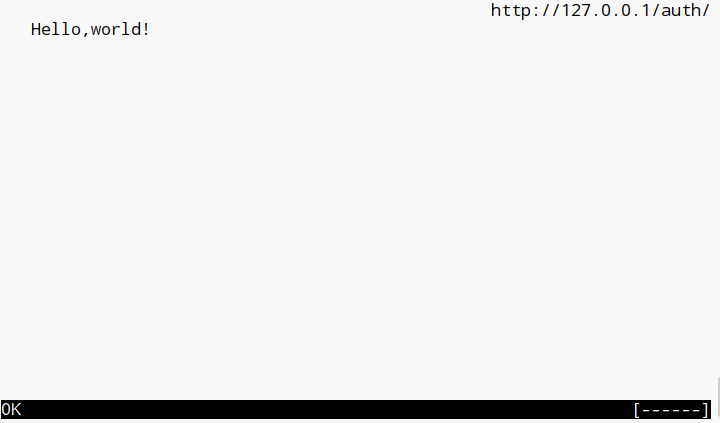
这里我为了方便,使用的是Linux下的Links浏览器进行测试的。
正确输入账号密码后,即可看到网页内容。